
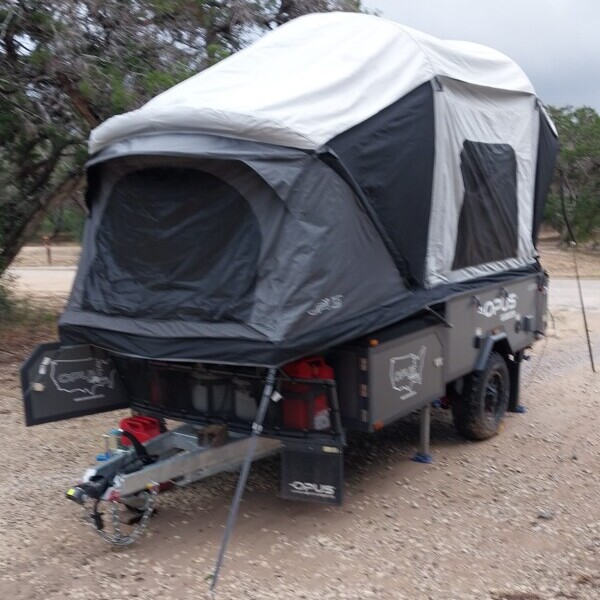
 When you leave the pavement with an RV, it is an adventure! It also brings unique challenges, especially when it comes to staging up for the night. Once you’ve found your desired campsite, uneven topography can significantly impact how you set up your basecamp, and where you are going to park your camper.
On rocky off camber terrain, common issues like traction, tire deflation pressure, ruts, and the departure angle of the travel trailer could potentially cause damage to your RV’s tail-end undercarriage. Also the type of hitch you are using will determine whether or not your unit stays together. We’ll address that in another article soon.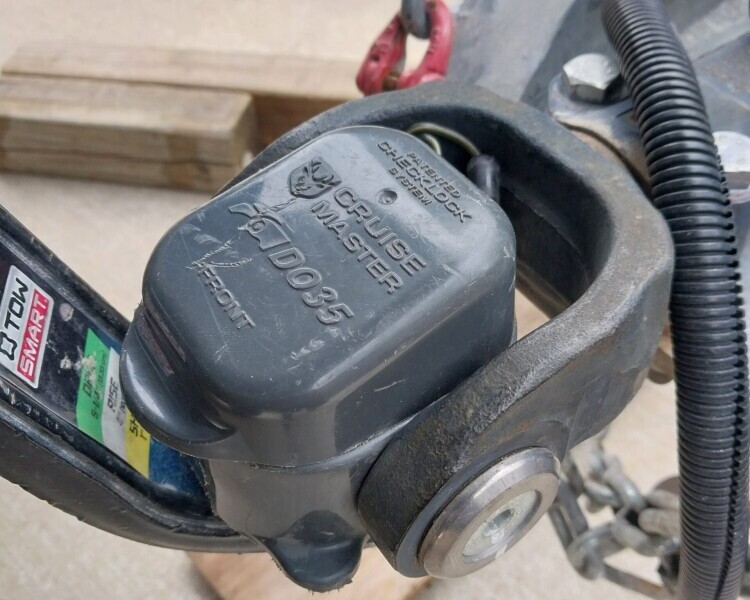
A stable foundation is vital, not just for peace of mind, but also for ensuring safety while living or traveling in your RV. Uneven ground can lead to issues with appliances, door frames, and even slide-outs, making everyday activities inside the camper inconvenient or downright hazardous.
Having a game plan to tackle these foundation quirks is essential for safe and comfortable adventures. Whether you’re a seasoned RV-er or a first-timer faced with unlevel parking, recognizing these challenges will empower you to make informed decisions about how to stabilize and secure your rig, giving you more time to enjoy the scenic landscapes around you.
Simple Techniques to Stabilize Your RV on Uneven Ground
Stabilizing your RV on uneven ground might seem tricky at first, but it is a manageable task. The key is understanding which tools and techniques will best suit your needs for the specific terrain you’re dealing with.
Cribbage can be your best friend when dealing with unlevel ground. These small handy blocks of scrap lumber can be 2x4s, 4x4s , or 2x6s. They can be used as footers for your outriggers, and you can even drive on them to fill that low spot where you plan to park your rig.
Stabilizer jacks are another crucial element in maintaining your RV’s balance. Use these in conjunction with leveling blocks to keep your camper steady, especially when the ground isn’t cooperating. Remember to extend the jacks just enough to stabilize without lifting the RV off the ground, which can create more problems. As they say, “…if the house is a-rockin’ don’t bother knockin’… just come on in!”
Don’t underestimate the importance of wheel chocks, too. These simple devices prevent unwanted movement by not allowing your rig to roll in either direction once leveled. They’re absolutely indispensable on inclines or when parked for extended periods.
When immediate solutions are needed, quick fixes like simple wooden planks can provide temporary stability. There’s that cribbage again! However, for a longer-term solution, investing in a quality leveling system, like air bag suspension will save you a lot of headaches down the road.
Adapting to off pavement conditions involves experimenting with different methods to see what works best for you, always keeping safety as your primary focus. Each piece of equipment serves its purpose, and together, they help ensure a stable, secure setup for your adventures.
Mastering RV Travel Etiquette: The 3-3-3 and 2-2-2 Rules
When it comes to RV travel, there’s more than just getting from point A to point B. It’s about making the journey smooth and enjoyable, which is where the 3-3-3 and 2-2-2 rules come into play. These rules provide a simple framework to keep your travels sane and enjoyable.
The 3-3-3 rule is about maintaining a pleasant pace on the road. It suggests driving no more than 300 miles in a day, stopping by 3 PM, and staying at least 3 days at each destination. This approach helps reduce stress and gives you enough time to unwind and explore without feeling rushed. Because the journey is as important as the destination itself.
On the other hand, the 2-2-2 rule is even more relaxed. Drive no more than 200 miles, check-in at 2 PM, and stay 2 days at each stop. This is perfect for those who prefer a slower pace, allowing for more spontaneous exploration along the way while still ensuring ample time for rest.
Both rules emphasize the importance of balancing travel and relaxation. By incorporating these guidelines into your travel routine, you create a buffer against the unexpected delays and stresses that often accompany road trips. They’re not just travel tips; they’re about preserving your peace of mind while seeing the country from the comfort of your RV.
Ultimately, adopting these rules isn’t just about flexibility and efficiency. It’s about creating a routine that enriches your travel experience, making every stop a memorable chapter in your journey.
Proven Strategies to Level Your RV on a Hill
Leveling an RV on a hill presents its own set of challenges, but it is achievable. Sloped terrains require extra attention to detail to ensure your home on wheels remains safe and comfortable.
Bubble levels are indispensable for this task. Place one inside your RV to determine how much adjustment is needed. It’s a simple yet effective tool that gives you instant feedback on your RV’s tilt, U-D-L-R.
Creating a pre-leveling checklist can dramatically improve your setup. Make sure to include assessing the slope, placing the cribbage and jacks, and re-evaluating the angle with a bubble level after adjustments. This ensures that nothing is overlooked during the process.
Common mistakes, such as overextending jacks or unhitching from the tow vehicle and not using leveling blocks, can lead to instability. Avoid these by taking the time to double-check each adjustment. Even a slight oversight can cause a wobble when doors are opened or during movement inside.
In short, successfully leveling on a slope requires a blend of preparation and equipment. By approaching the task methodically, you’ll maintain both safety and comfort, allowing you to focus on the enjoyment of your scenic, albeit hilly, destination.